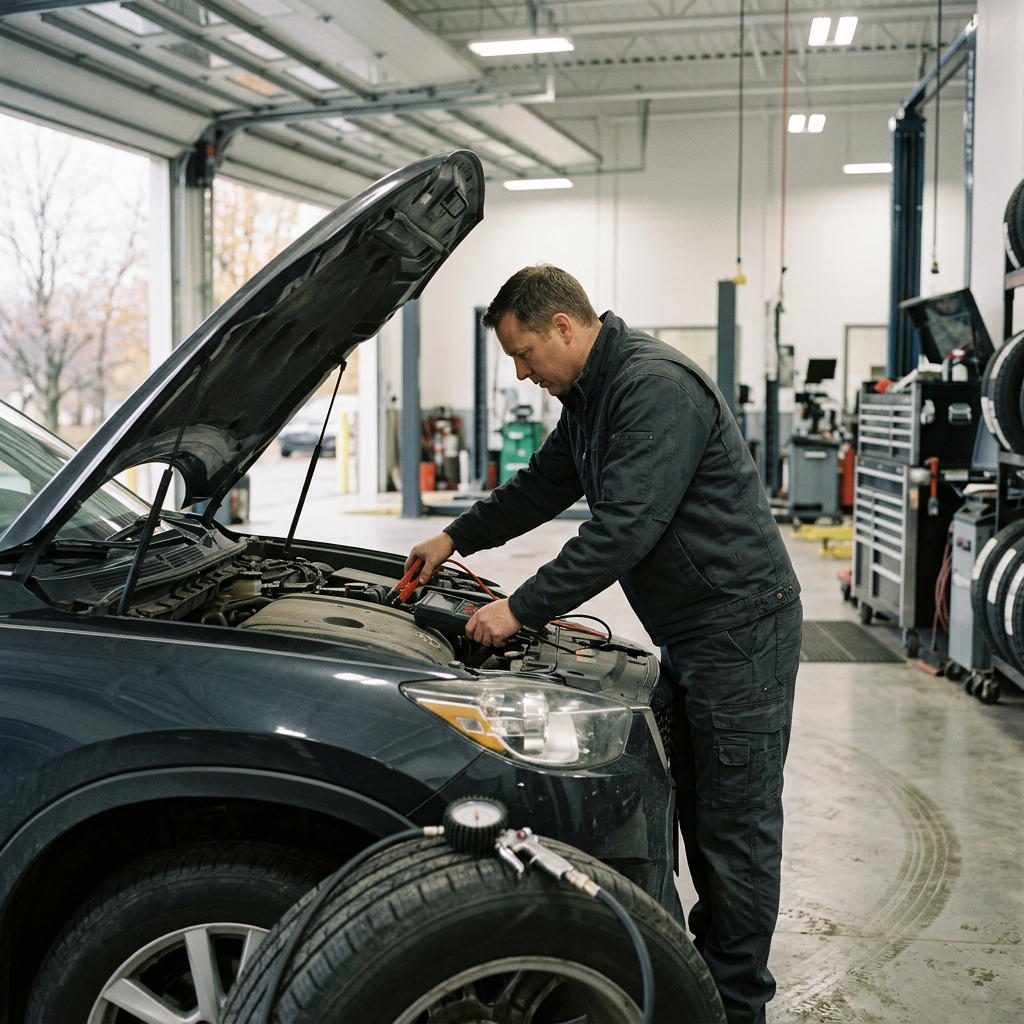
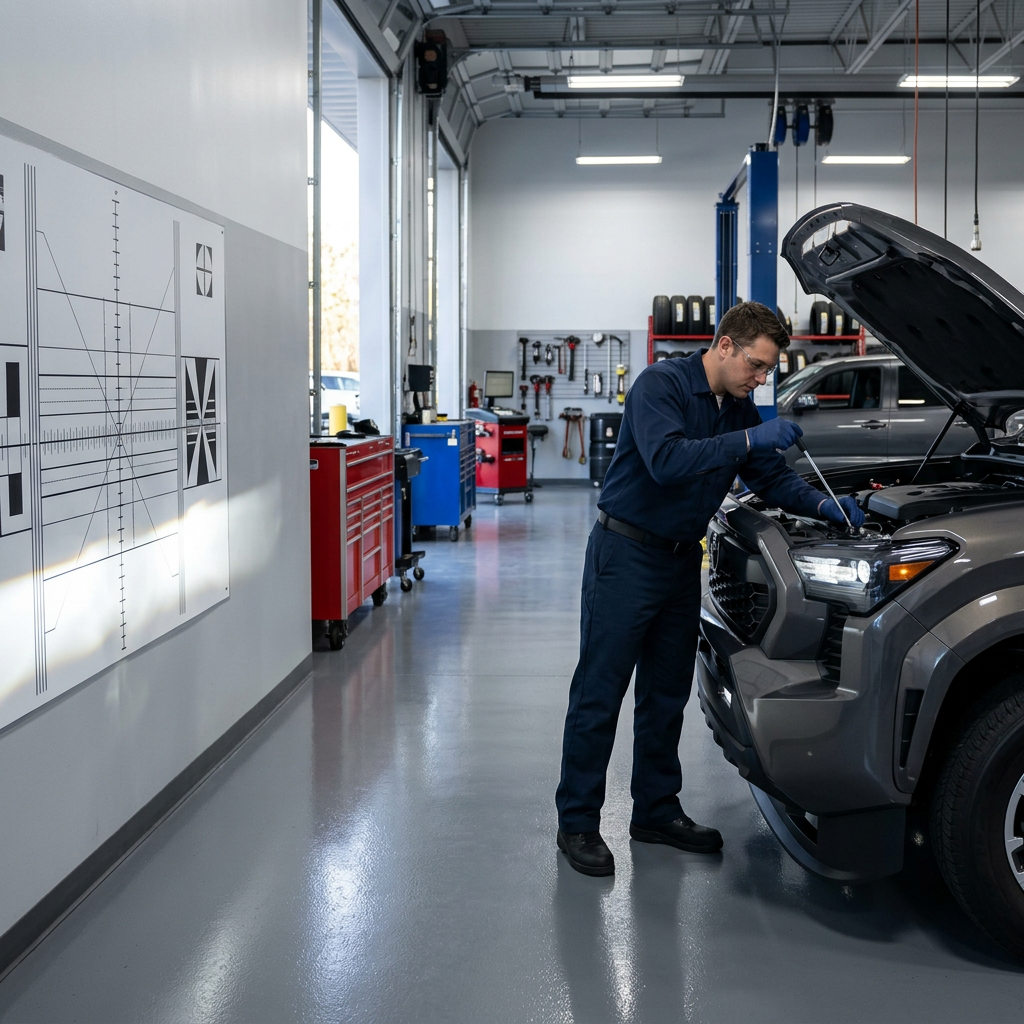
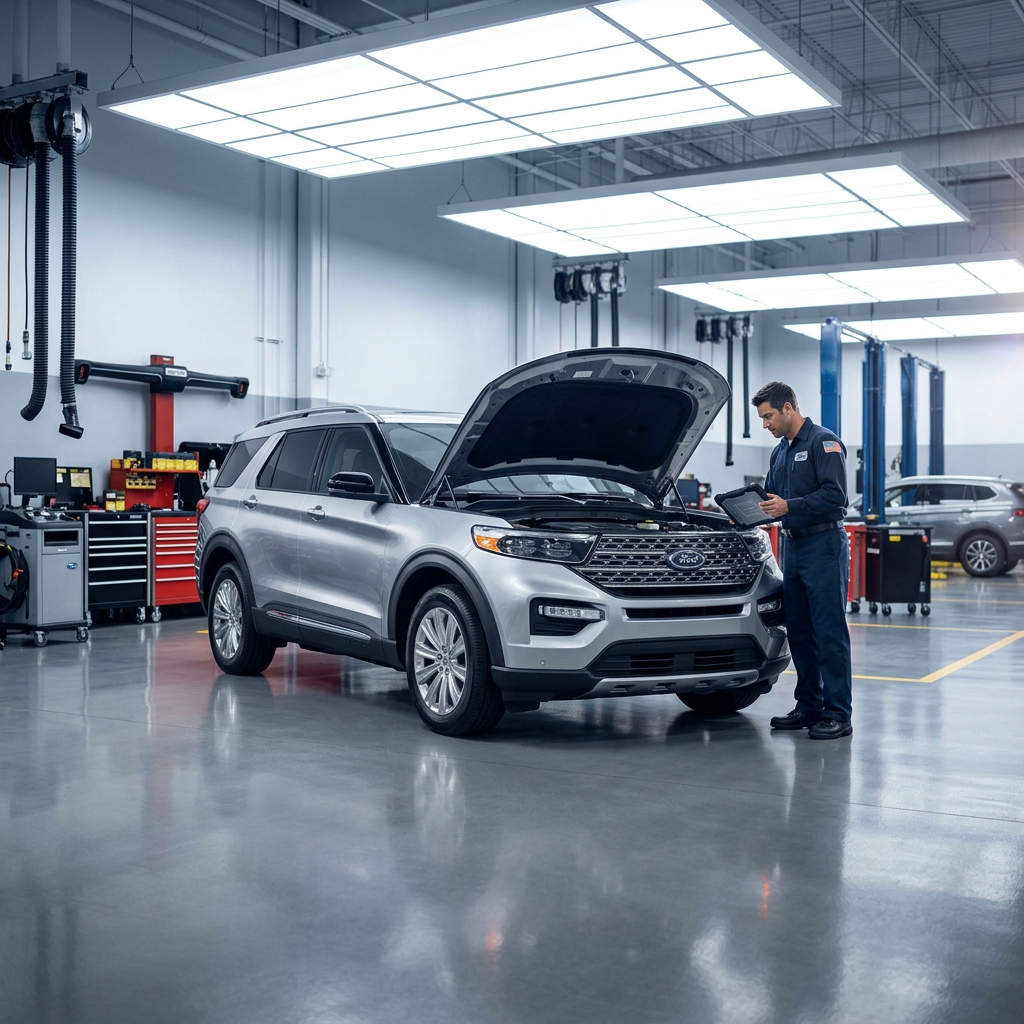
What Is the Absolute Minimum Safe Brake Pad Thickness Before Replacement Is Required? When evaluated strictly by engineering specifications and automotive safety codes, the absolute minimum legal and physical safe limit for remaining brake pad friction material is 2 millimeters (2/32 in). Operating a vehicle once the pad wear drops to 2mm or below places your braking system in extreme peril: at this exact thickness, the steel backing plate is mere fractions of a millimeter away from making direct metal-to-metal contact with the brake rotor. When that contact occurs, friction coefficient drops rapidly, heat dissipation fails, and stopping distance increases exponentially while permanently damaging costly mechanical assemblies. However, professional automotive technicians and safety agencies maintain a mandatory replacement threshold of 3 millimeters (3/32 in). The 3mm mark represents the critical professional buffer zone. At 3mm, friction material has lost its structural elasticity and capacity to effectively absorb and displace extreme kinetic heat during high-speed emergency stops. Driving anywhere between 3mm and 2mm is widely considered living on borrowed time. To understand where your vehicle currently stands, it helps to understand the full life cycle of automotive brake pad thickness specs:
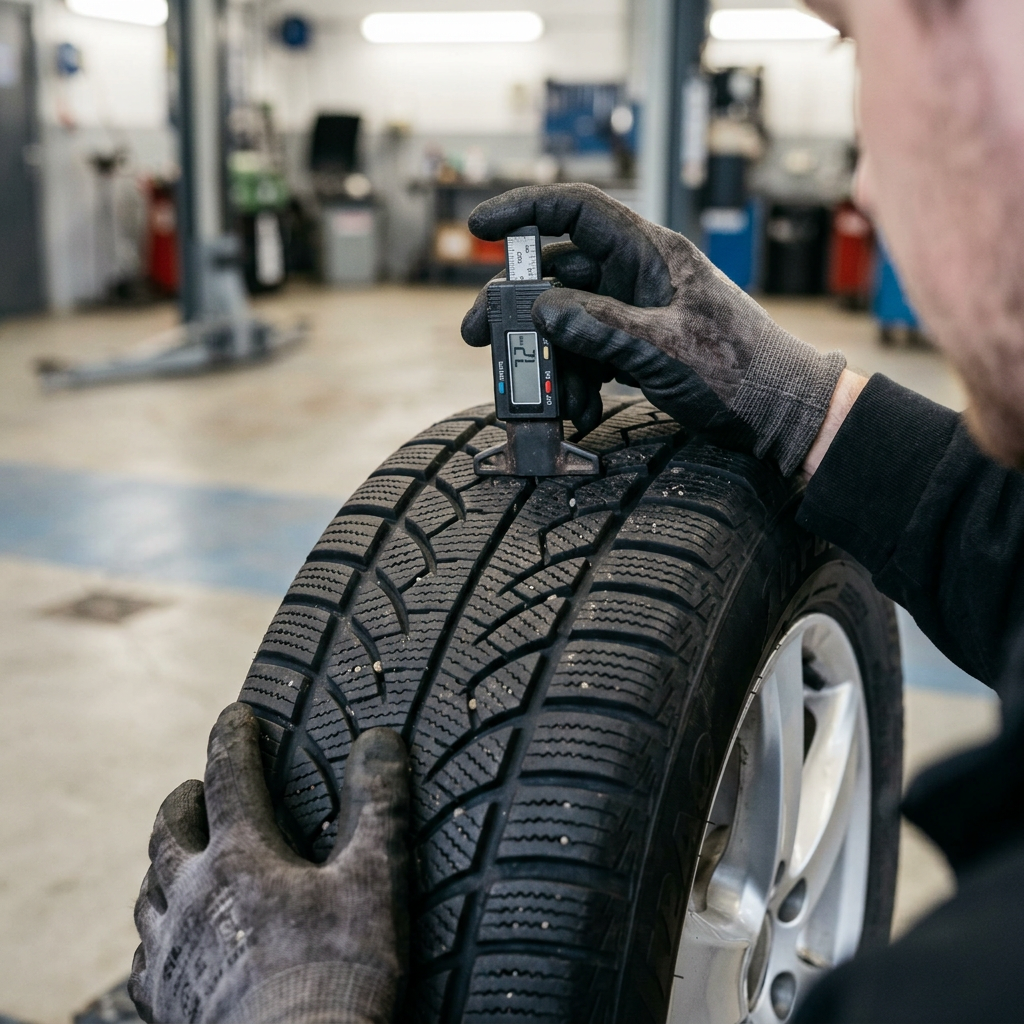
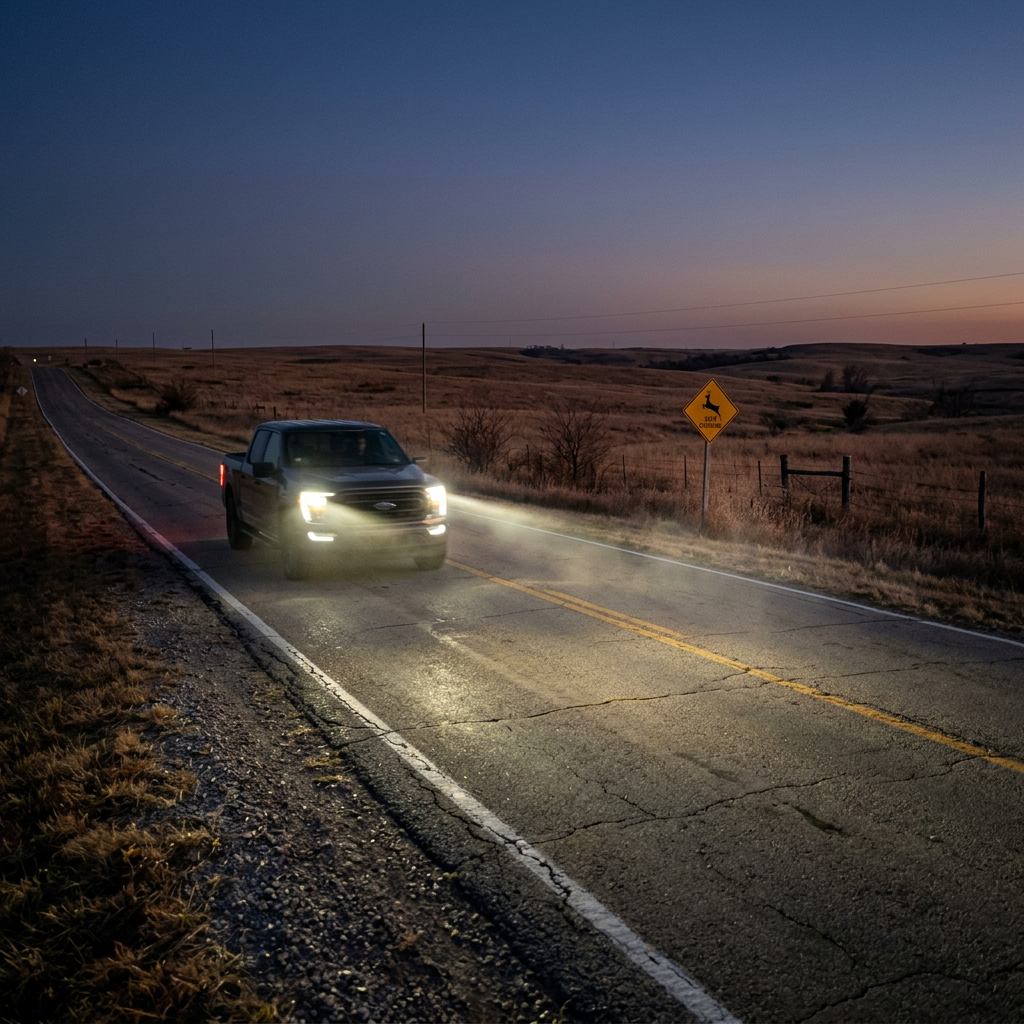
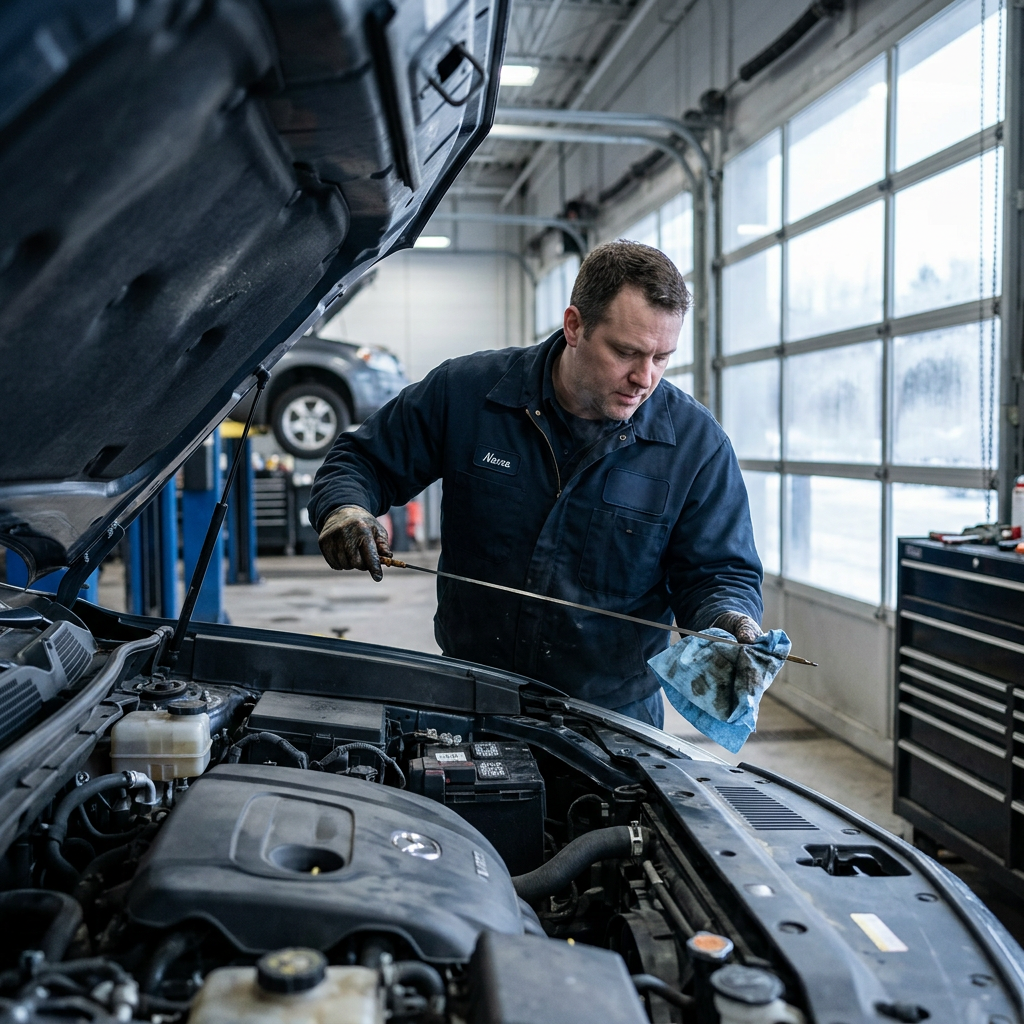
• 10mm to 12mm (12/32 in): Brand New OEM Brake Pad. Full thickness delivering maximum friction, optimal heat displacement, and silent performance. • 6mm to 9mm (8/32 - 11/32 in): Green Zone / Normal Operation. Abundant friction material remaining; excellent thermal and mechanical reserve capacity. • 4mm to 5mm (5/32 - 6/32 in): Yellow Zone / Planned Maintenance Window. Friction material is roughly 60-70% consumed. It is safe for current daily commuting, but replacement should be scheduled within the next 1,000 to 3,000 miles. • 3mm (3/32 in): Red Zone / Mandatory Replacement Required. Wear indicator squealers engage; stopping distances begin expanding under hard braking. • 2mm or Less (2/32 in): Critical Danger Zone / Immediate Failure Risk. High probability of rotor gouging, piston overextension, and severe brake fade. How to Measure Brake Pad Friction Material vs. Metal Backing Plate A common mistake driver make during DIY vehicle inspections is measuring the total thickness of the brake pad assembly rather than isolating the friction block from the steel backing plate. A standard brake pad consists of a heavy steel backing plate (typically 4mm to 6mm thick) bonded to organic, semi-metallic, or ceramic friction lining. If you measure 8mm of total pad structure, but 5mm of that is solid steel backing plate, you actually only have 3mm of usable friction material remaining! To measure accurately, technicians use specialized color-coded brake pad feeler gauges or digital vernier calipers. Place the gauge flat against the metallic rotor face and measure strictly the distance from the outer rotor surface to the steel backing plate seam. In a pinch, visual checks through open alloy wheel spokes using a manual 32nds-of-an-inch gauge can give a quick estimation, but inner pad wear (which often wears faster due to stuck caliper slide pins) requires removing the wheel or placing the vehicle on a service lift. Precision measurements ensure you never miscalculate remaining service life. A 1mm measurement error can mean the difference between safe stopping performance and catastrophic mechanical damage on high-speed rural highways. Warning Signs That Brake Pads Have Dropped Below 3mm in Thickness High-Pitched Squealing Modern OEM brake pads include hardened spring-steel acoustic wear indicators (squealers). When friction material wears down to exactly 3mm, this small metal tab contacts the spinning brake rotor surface, producing a high-pitched metallic screeching sound under gentle or coasting deceleration. Ignoring this squeal guarantees transition into harsh mechanical wear. Metal Grinding & Spongy Pedal If the squealing stops and transitions into a deep, harsh mechanical grinding sound, your friction material is entirely depleted (under 1mm). The steel backing plate is actively gouging deep grooves into the iron rotor. Concurrently, increased hydraulic fluid volume demands in thin calipers cause a soft, spongy brake pedal travel. Extended Stops & Dash Lights As pads thin below 3mm, heat retention skyrockets, leading to severe brake fade during repeated slowdowns. Stopping distances can expand by 20 to 40 feet at highway speeds. Modern electronic wear sensors or master cylinder brake fluid level sensors will trigger yellow or red dashboard warnings. Why Driving on Less Than 2mm Brake Pads Causes Catastrophic Damage Continuing to drive once brake pad friction material drops below 2mm escalates a minor routine maintenance task into an expensive, dangerous mechanical failure. Without the thermal barrier provided by dense friction material, extreme temperatures (exceeding 1,000°F during emergency stops) transfer directly into the caliper assembly. This heat boils brake fluid, causing total loss of hydraulic brake pressure. Furthermore, as the total pad thickness thins out, the caliper piston must extend far beyond its intended engineered travel distance to push the pad against the rotor. This hyper-extension damages rubber piston dust boots, ruins internal fluid seals, causes total fluid leaks, or can cause the piston to lock permanently into the bore, destroying the entire brake corner. Schedule Brake Inspection at Valor Ford Kansas Deer Season and Rural Road Safety: Lighting and Brake Inspections for Nighttime Driving Driving across Central Kansas—especially corridors along Interstate 70, K-18, US-77, and rural state routes in Geary and Dickinson Counties —presents extreme nighttime hazards during the autumn and winter months. As temperatures drop and daylight hours shrink, drivers commuting around Junction City and Fort Riley encounter a massive spike in wildlife traffic, specifically white-tailed deer crossing pitch-black county roads. Avoiding a high-speed collision with a 200-pound animal demands two synchronized vehicle systems working at 100% capacity: uncompromised headlight clarity/aim (to spot wildlife eyes reflected at maximum distance) and flawless brake pad responsiveness (to decelerate quickly without wheel lockup or brake fade). If your brake pads are worn down to 3mm or less, your stopping distance at 65 mph can expand by as much as 30 to 50 feet—precisely the distance between a near-miss and a severe impact. When Is Peak Deer Season in Kansas and When Are Collisions Most Likely to Occur? According to Kansas Department of Transportation (KDOT) crash statistics, peak deer mating and migration season (commonly known as 'the rut') runs strictly from late October through mid-December, with November experiencing the absolute highest concentration of animal-vehicle collisions across the state. During this period, deer activity increases tenfold as animals move between agricultural fields and wooded river basins in search of mates. Statistical analysis shows that over 65% of all deer-vehicle strikes in rural Kansas occur during the prime movement windows: dusk to 9:00 PM and 5:00 AM to dawn. Drivers commuting to and from Fort Riley military base early in the morning or traveling rural state highways surrounding Junction City after dark face maximum exposure. Having crisp headlight illumination and thick, responsive brake pads during these exact peak hours is your single best defense. What Lighting and Braking Actions Do Kansas Officials Recommend When Driving Rural Roads During Deer Season? Max High Beams Use high-beam headlights continuously on unlit rural highways whenever oncoming traffic is more than 500 feet away. High beams reflect off deer eyes (tapetum lucidum) hundreds of feet earlier than standard low beams, granting vital seconds to react. Scan Road Shoulders Keep your eyes constantly scanning ditch lines and right-of-way fence boundaries. Deer rarely travel alone; if one deer crosses the road in front of you, expect two or three more to immediately follow directly behind it. Brake Straight & Firmly Kansas Highway Patrol explicitly warns: Never swerve sharply into oncoming lanes or ditch steep embankments. Swerving causes rollover crashes and head-on collisions. Execute maximum straight-line emergency braking instead. Schedule Pickup & Delivery Brake Service What Should a Driver Do If a Deer Suddenly Jumps in Front of Their Vehicle on a Rural Road? Step 1: Don't Swerve — Brake in a Straight Line. The immediate instinct to jerk the steering wheel away from an obstacle leads to tragic outcomes on rural Kansas roads. Swerving at 65 mph often causes tires to trip on loose gravel shoulders, initiating catastrophic vehicle rollovers or launching into oncoming traffic lanes. Keep your steering wheel pointed dead straight. Step 2: Stomp and Hold the Brake Pedal (Leverage ABS). Many modern Ford vehicles are equipped with advanced Anti-Lock Braking Systems (ABS). Press down with maximum force and do not pump the brake pedal. Let ABS modulate hydraulic pressure while you maintain continuous steering control. Step 3: Release Brake Pressure Immediately Before Impact. If impact is completely unavoidable, release hard foot pedal pressure a split-second before contact. Hard braking causes the front nose of your vehicle to dip down significantly. Letting off the brake slightly allows the front suspension to rise back up, reducing the odds of the deer coming up over the hood and through the front windshield. Step 4: Pull Over Safely and Assess. After impact, bring the vehicle to a controlled stop on the right shoulder, activate hazard lights, stay inside the vehicle, and contact emergency services. Never approach an injured deer on the roadside. What Is the Recommended Headlight Alignment Angle for Rural Nighttime Driving? Proper headlight alignment is critical for navigating the rolling hills and unlit curves of the Flint Hills region. Factory engineering specifications state that low-beam headlight patterns should project downward with a vertical drop of 1 to 2 inches at a 25-foot distance from a flat wall target. If headlights aim too high, they blind oncoming drivers and bounce glare off fog; if aimed too low, your stopping distance easily outruns your illuminated field of vision. Over time, driving over rough rural gravel roads, hitting potholes, or carrying heavy truck payloads can shift headlight housing adjusters out of alignment. Clouded or yellowed plastic headlight lenses can also reduce output lumens by up to 80%. A professional headlight restoration and optical aiming check ensures maximum beam penetration along dark rural ditch lines. How Much Does It Cost to Replace Worn Brake Pads and Rotors in Kansas? Pads Only (Per Axle) $150 - $275 (estimated; actual price may vary) Includes replacement of front or rear ceramic/semi-metallic brake pads, hardware kit replacement, and slide pin lubrication, provided existing rotors meet minimum discard thickness and remain unscored. Pads & Rotors (Per Axle) $350 - $550 (estimated; actual price may vary) Includes new OEM Motorcraft pads plus two brand-new high-carbon steel brake rotors, heavy-duty hardware clips, system bleed/flush if required, and complete digital road test. Full 4-Wheel Overhaul $700 - $1,100 Complete 4-wheel brake replacement including front and rear pads, four new rotors, caliper slide service, and complete brake fluid exchange. Service financing options available. Order Genuine Ford Parts & Accessories Front vs. Rear Brake Pad Wear Rates for Fort Riley Commuters and Rural Drivers 70/30 Weight Bias Under deceleration, kinetic energy transfers momentum forward onto the front axle. As a result, front brake pads absorb nearly 70% of total vehicle stopping force, causing front pads to wear out roughly 1.5 to 2 times faster than rear pads under normal highway conditions. Military Gate Traffic Fort Riley commuters experiencing daily morning stop-and-go queueing at gate checkpoints accelerate brake wear. Frequent low-speed stopping keeps continuous thermal pressure on front brake calipers, burning through friction compound quickly. Towing & Gravel Strain Rural truck owners towing livestock or farm trailers experience elevated rear pad wear due to Electronic Brake Force Distribution (EBD) systems counterbalancing heavy rear axle tongue loads during rural highway operation. DIY Visual Brake Check vs. Professional Multi-Point Inspection at Valor Ford A driveway visual inspection with a flashlight can give you a rough estimate of outer brake pad thickness, but it leaves major critical safety factors unexamined. You cannot visually inspect inner brake pad wear without pulling the wheel, nor can you measure rotor lateral runout (which causes steering wheel vibration) or test brake fluid moisture contamination levels. At Valor Ford in Junction City, our factory-certified Ford technicians execute a comprehensive Multi-Point Brake Inspection. We measure inner and outer pad friction material to exact tenths of a millimeter, inspect caliper slide pins and rubber dust boots, verify rotor discard thickness using precision micrometers, test hydraulic fluid boiling point, and perform headlight beam optical alignment tests. Schedule Your Brake and Headlight Safety Inspection at Valor Ford in Junction City Don't wait for screeching wear indicators or metal-on-metal grinding to compromise your safety on rural Kansas roads this fall. Ensure your vehicle has the stopping power and headlight visibility required to handle unexpected wildlife encounters and hazardous weather across Geary and Dickinson Counties. Visit the certified service experts at Valor Ford located at 1825 Goldenbelt Blvd, Junction City, KS 66441 or Call (785) 238-5114 to book your service appointment today. Our team is dedicated to keeping your truck, SUV, or sedan operating at peak factory safety standards.